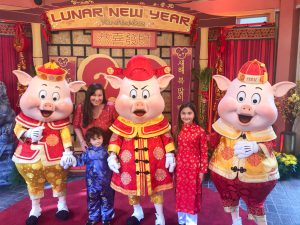
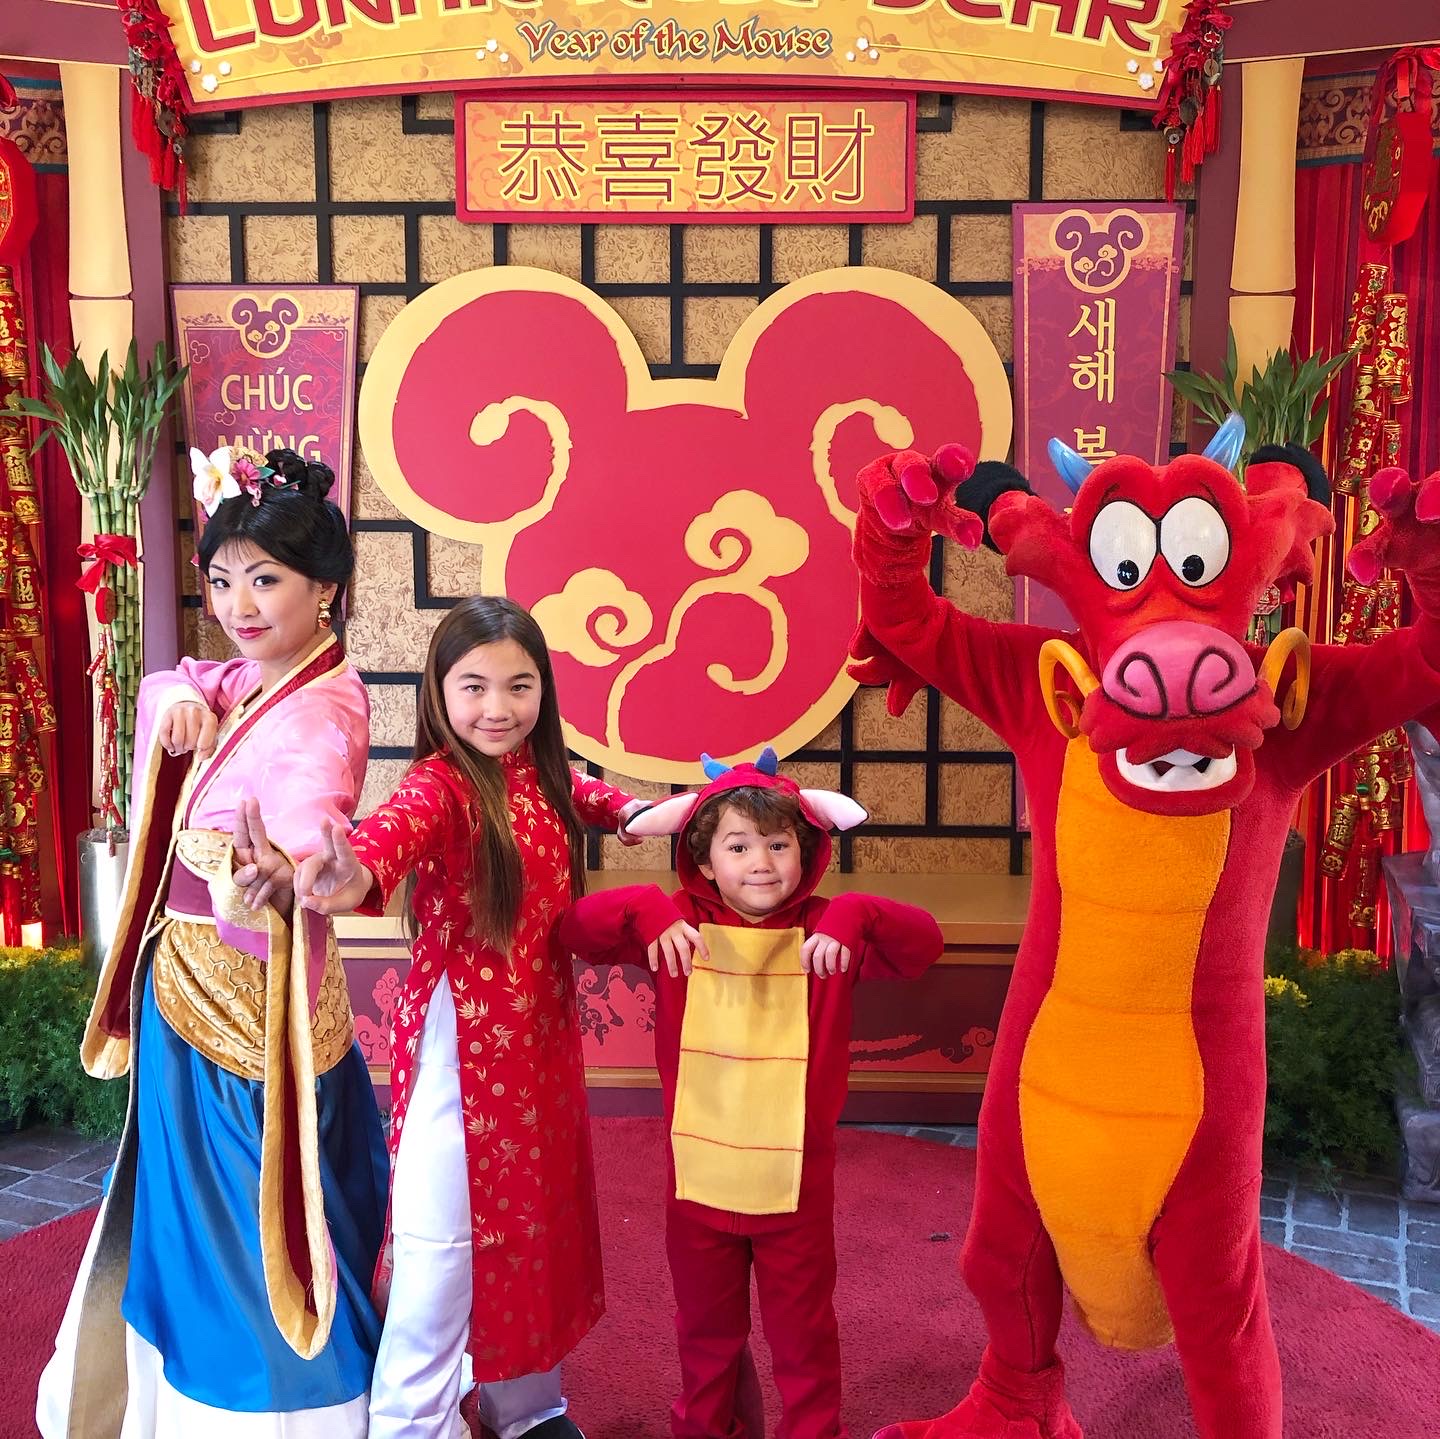
Hi Friends! I wanted to get this post out earlier but like life things just don’t go as planned sometimes. I was inspired to make this Mushu play costume since Disney California Adventure is celebrating Lunar New Year from January 17- February 9, 2020. They have asian inspired food booths, character meet and greets, activities, merchandise, processional, and night time spectaculars; but that’s for another post.
As always I am a big fan of Primary.com so I purchased the bases from them and the rest of the items I purchased at Joann Fabrics. To get 20% off your order and FREE SHIPPING click here or you can use the promo code PRIMARYAMANDAN61 during check out.
Products used:
- the zip hoodie in cherry from primary.com
- the chino 4 pocket pant in cherry from primary.com
- the classic long sleeve in cherry from primary.com
- Antipill Fleece in Red, Yellow, Black, Pink, Blue, and Purple
- Thread (I just used red and blue)
- Red fabric paint
- Scrap piece of cardboard
- Fiber Fill
- Velcro Sticky Back for Fabrics
- Ribbon 7/8” in your choice of color (I used red)
- Sewing machine or Hot Glue
- Cutting Mat

Let’s get started!
Mushu’s Main Body
You will need the cozy zip up hoodie from primary.com
Step 1: Measure width of the top of the pockets. My son wears a size 6 in the hoodie and it came out to be about 7.25” wide; add a 1” seam allowance. Then measure from the bottom seam of the pockets to the top of the zipper (I left about a 1” gap from the top of the zipper). The length came out to about 15.25” tall; add a 1/2” seam allowance.


Step 2: Grab your yellow fleece and turn it right side down. Cut the measurements from step 1.

Step 3: Fold the shortest ends of the fleece in 1/2” towards the wrong side of the fabric, sew them in place following the 4/8” line on your sewing machine. Tie and trim the ends and then do the same to the longer sides of the fleece. Fold them in 1/2” and sew them on the 4/8” line; trim the ends when you are done. When you are all done you should have nice clean edges.

Step 3 
This is what your fleece should like after the short ends are sewed and threads are trimmed. 
This is what your fleece should look like after Step 3 is complete (right side up).
Step 4: Grab your cardboard (I just used cracker box we had laying around), red fabric paint, and the yellow piece of fleece. Next you are making the lines on Mushu’s belly. I decided to go with three lines but feel free to do as little or as many as you would like. I pre marked them with tailors chalk so I had a rough idea of where I wanted them to go. Apply the red fabric paint and set that aside for 4 hours to dry.


Step 5: While Mushu’s belly is drying we are going to move onto his ears. For this step grab a piece of paper and a pencil/pen. You are going to draw Mushu’s ears to use as a pattern. I started by drawing almost a leaf shape but instead of connecting the end I made it flat (I am horrible at drawing so please excuse my attempt of drawing of his ear). After you are happy with his ears add a 1/2” seam allowance; that will be the outside line. Cut out your pattern.

Draw out a shape similar to this pattern. 
Cut it out.
Step 6: With the red fleece, fold it in with the right sides facing in and pin the pattern onto the fleece and cut it out. Set those aside.

Step 6
Step 7: Repeat step 6 but with the black fleece. You should have two red and two black pieces of fleece now.

Step 7 
This is what you should have after Step 7 is complete.
Step 8: Match the ears with them facing right side in. So the black fleece for the right ear is on top of the red fleece for the right ear and same for the left ear.
Step 9: Take the left ear (again if you were looking at Mushu) and cut about 4” from the flat side of the ear. These measurements may vary depending on the size of the child you are making this for. Repeat for the right ear.
Step 10: Now for the confusing part. lol With all your pieces right side facing down take the big piece of the red right ear and the black tip of the right ear and put them together. So you should have a red ear and black tip of the ear. Do the same for the left ear; take the big red piece and the black tip of the left ear and match them up.

Step 11: Take the right ear and face the red right side up and take the black with the right side down and sew along the edge so they will make one full ear. Repeat with the left ear.

Step 12: Grab your pink fleece and your ear pattern. With the right sides facing in trace and cut out your ear pattern.

Step 13: Match up the pink left ear with the red and black ear and do the same for the right ear. For the right ear face them right side in and you are going to make a small triangle in the ear which is the cut in Mushu’s ear; sew those pieces together. For the left ear you are going to face right sides in and sew them together. Then turn them right side out and set them aside.


This is what Step 13 will
look like when complete.
Step 14: Moving on to Mushu’s little horns. You are goin to draw Mushu’s little horn to use as a pattern. It is actually going to be very similar to the way you drew his ears but just draw them a little shorter. After you have a pattern you like ad 1/2” for a seam allowance then cut it out.


Step 15: Grab your blue fleece and fold it in on itself so the right sides are facing in, pin the pattern in place and cut it out. Do the twice so you will have two sets of blue horns.
Step 16: Grab your purple fleece and repeat step 15 using the purple fleece.
Step 17: Keeping your sets separate ( so you should have a blue set that will be your left ear and another blue set that will be your right ear; and you should have a purple set that will be your left ear and another purple set that will be your right ear) take a blue set and a purple set that you want to use for your left ear and place one set on top of the other. Do the same for the right ear. So now you should have two sets on top of each other. Next you are going to cut about an inch and a half off the top of the fleece pieces.


Step 18: Set your right ear aside for now. Take the pieces for the left ear and set the tips for the blue fleece aside and take the big pieces from the purple fleece and set those aside. So now you should have purple fleece triangles and the blue bottom part of the horns. Separate the fleece so all the pieces are right side up. Set one of the horn pieces aside. With the horn you have left you are going to have the right sides facing in. Using blue thread sew these pieces together. Tie your ends and trim the excess thread. Next you will do the same to the other left part of the horn. You should now have two pieces of the left horn; face the right side in and sew them together. Tie your ends and trim them; then turn right side out.


Step 19: Follow step 18 but for the right set of horns. So my horns did not end up looking exactly the same and usually the perfectionist in me would start all over again but I had to remind myself that they might not look “perfect” but that’s what makes them unique and what in nature is ever perfect!

Step 20: For this next step I had my son wear the hoodie so I could see where I wanted the ears and horns to go with tailors chalk. Have your child take off the hoodie and lay it flat so the hood is folded on itself. I started with the horns; carefully cut a small hold where your chalk mark is. I used my small pointy scissors to cut the first layer and once that was a size I liked I use the point of the scissors to cut the bottom layer.


Step 21: Now you are going to sew the horns to the hood and don’t forget to back stitch to your starting point.
*Helpful tip; I didn’t realize the hoodie was double layered so I had to mess with it a bit to try to sew the horns to the hood. I sewed the horn to the outside layer first making sure to sew a little past where the horns went so it was a nice clean line. Then I tied my thread, trimmed them, and sewed the rest of the horn to the inside layer of the hood. It’s not pretty but no one will see the inside of the hood. Do the same for the other horn.


Step 22: Grab your ears and fill them with Fiber-fil; as much or as little as you would like. Leave about an inch from the opening unfilled. Next you are going to sew the opening closed; I also back stitched to make sure that seam doesn’t come un done.


Step 23: Next you are going to cut a hole in the hood where you previously marked it with chalk. If you are using the hoodie from primary.com make sure you take one layer at a time. Follow the directions from Step 21 for both ears.


Sew the first layer of the hoodie first. 

Then sew the 2nd layer to the ear.
Step 24: Almost done I promise! Grab the yellow piece of fleece that is Mushu’s belly (make sure you have given it enough time to dry) and the Velcro Sticky Back for Fabrics. Zip up your hoodie and place it where you would like it. Now flip the yellow piece of fleece over and place the one of the sheets of Velcro to the back of the fleece.


Step 24 
Step 25
Step 25: With the other sheet of Velcro peel them and stick them to the back of the other Velcro already on the yellow fleece.
Step 26: Very carefully flip the fleece right side up and place Mushu’s belly on the hoodie. I rubbed where the Velcro was to make sure it really adhered. Do not take the belly off for 24 hours to really let the Velcro adhere to the fabrics.

Pair your Mushu hoodie with the chino 4 pocket pants and the classic tee in red and your Mushu is ready to go on some magical adventures.
Mushu’s Tail
For Mushu’s tail you will need fleece or felt. This is going to be very similar to Bruni’s tail; so if you have made that play costume this will be super easy for you!
Step 1: Fold the fabric right side in.

Step 2: Draw the outline of the tail on the fabric; you want the end of the tail to be similar to a leaf shape. I measured from the top of the tail to the end of the tail to be about 27.5” long and about 6.5” tall. Again my son is 5 years old so these measurements will vary for the age of your child.
Step 3: Cut out the tail.

Step 4: Keeping the tail with the right side facing in; you will sew or hot glue the two pieces of the tail together keeping the right opening (top of the tail) of the tail open so you can stuff it with fiber fill. If you are sewing I used a 5/8” seam allowance and don’t forget to tie your threads.

Step 5: Turn the tail inside out. If you are using my measurements the tail from top to bottom should be about 27” long.
Step 6: Fill the tail with Poly-fil leaving about two inches from the opening unfilled. You are only filling the tail with the Poly-fil part way because you will want the tail to sit flat against your child’s back; it’s more comfy that way. When you are filling the end of the tail try stuffing it with smaller pieces and use the stick that comes in the Poly-fil bag to help it get down in those skinnier areas. I found it helpful to massage the Poly-fil down get it more flat and less bulgy.

Leave two inches of the tail unfilled. 
Step 7
Step 7: Sew the top of the tail closed with a 5/8” seam allowance. Tie and trim your threads.
Step 8: With the ribbon measure your child’s waist; I added a couple of extra inches so my son could wear his tail as he grows. It came out to 65”. Cut your desired amount of ribbon and with a lighter heat seal the ends of the ribbon so they do no fray (watch out for those finger tips!)
Step 9: Find the center of the ribbon and line it up with the seam of the tail; pin it in place. Sew the ribbon to the tail. The fleece starts to get a little thick at this point so you might need to pull/guide the fabric. You will be sewing a rectangle and will need to back stitch some of the tail.

Pin the ribbon to the tail 
Sew 
All done!
That’s it; now you have a super cute tail to complete your Mushu costume!


Thank you for following along and be sure to subscribe to our page to get notifications on all our new DIY projects. Be sure to tag us on Instagram of your own Mushu inspired play costume, I love seeing your creations!