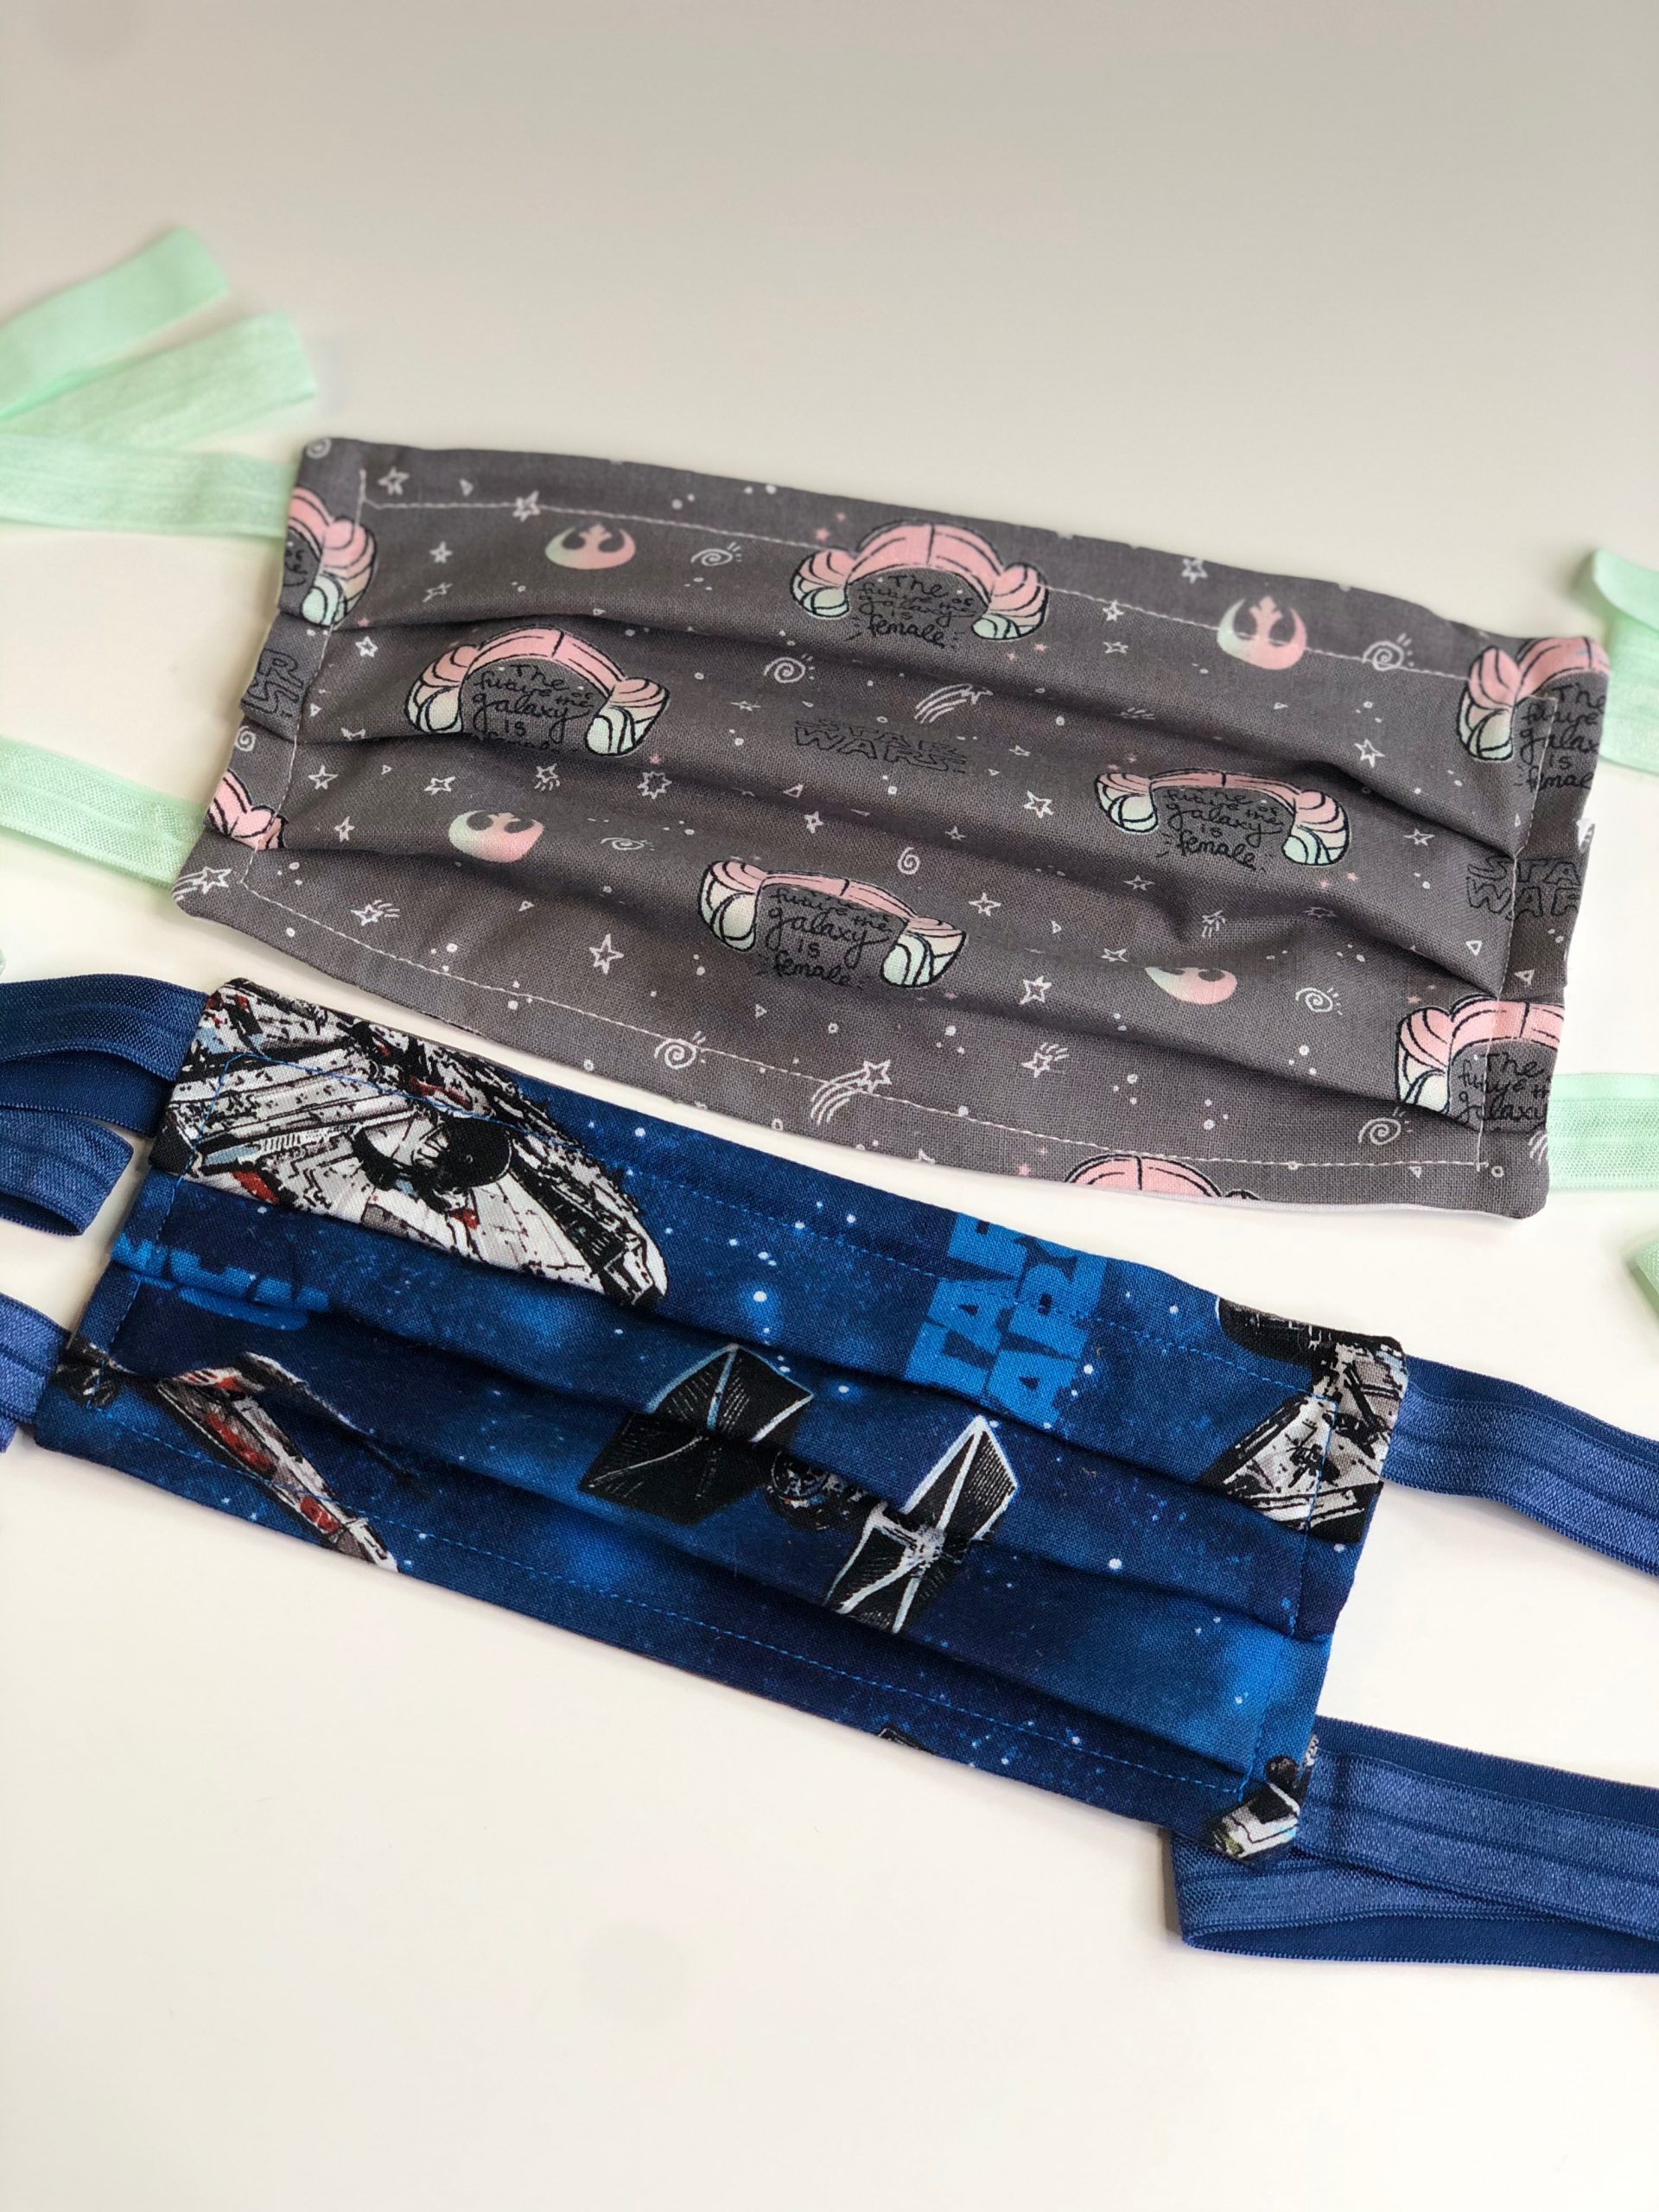
DIY Reusable Face Mask with Ties, Removable Filter Pocket, and Nose Wire (Adult & Child)
This is not my usual happy cosplay tutorial; but I thought it needed to be shared. Moment of honesty; I have actually really been struggling with everything going on. For the most part we are staying at home only going out about every two weeks to get groceries. The times I have been out my heart is absolutely broken. Everyone is wearing masks and gloves, people trying to practice social distancing; it is all just heart breaking. I have been feeling helpless and I really wanted to be useful other than just staying home. I know it is so important to stay home to flatten the curve but I just wanted to do more. Then a friend that is a nurse actually reached out and asked if I would make some masks for our local children’s hospital and I was happy to help. I’m a crafter so I searched high and low online for a tutorial on how to make a face mask. There were so many great tutorials and videos but there just wasn’t one that I really liked. I knew I wanted to give the nurses different options wether they wanted to use the wire above the nose to make the mask more form fitting or not; or if they wanted the option to add a filter. I wanted to give them the best; so I took bits and pieces of tutorials and I came up with a pretty easy way of making a face mask.
Disclaimer: Please know that wearing a face mask will not prevent you from getting Covid-19. It is merely a tool that you should use in addition to what the CDC says we should be doing; washing our hands regularly for 20 seconds, avoid touching your face, and cough in your elbow. Please visit the link the view the CDC recommendations.
Helpful Tips when wearing a face mask:
- Wash your hand before putting on the mask.
- If you are using a filter insert it in the inside pocket.
- Put the mask on your face with the bendable side on the bridge of you nose.
- Grab the ties by the upper ties and tie it in a bow behind your head.
- Pinch the pipe cleaner to the bridge of your nose till it is fitted.
- Grab the bottom ties and tie them in a bow behind your head.
- Make sure the mask covers your nose and mouth and the bottom edge of the mask is below your chin.
Removing & Washing the mask:
- Wash your hands before removing the mask.
- Untie the bottom strap and while holding the straps lift up and over your head.
- Untie the top straps only touching the straps; do not touch the mask.
- Place mask in a pillow case or laundry safe bag and wash on sanitary setting or hot water and dry on medium or hot heat.
Materials:
- 1 Outter Panel; use a pattern material Cotton Fabric (Adult 9”x7” & Child 8”x6.25”)
- 2 Inner Lining Panels; use a solid colored material Cotton Fabric (Adult 9”x4.5” & Child 8”x4”)
- 4 pieces of fold over elastic (foe) or any type of elastic (Adult 18” each & Child 16” each)
- Pipe Cleaner or floral wire (Adult 8.5`” & Child 7.5”)
- Sewing Machine
- Thread
- Ruler
- Scissors or Rotary Cutter
- Pins
- Fabric Marker
- Iron
- Lighter
Let’s get started!!
As always wash your fabric before you start.
Step 1: Cut out your material. Your pattern material should be 9”x7” (Child’s Mask should be 8”x6.25”) and you should have two pieces of solid colored material that should be 9”x4.5” each (Child’s Mask 8”x4”).

Step 2: Set the patterned material to the side for now. Grab the solid colored material and with the right side facing down mark an inch along the bottom of the material long ways. Fold the bottom to the 1” line you made and iron it down. Using a 1/4” seam allowance sew the edges in place.

Step 3: Grab your elastic and cut 4 pieces 18” long each (Child’s Mask 16” each). Do not stretch the elastic when measuring it. Heat seal the ends with a lighter.
Step 4: On the right side of the patterned material mark 1/2” from the top and bottom edges; pin the elastic ties at the marks you just made. If you are using fold over elastic (foe) the shiny side of the fold over elastic is facing down.

Step 5: Take one of the solid pieces, right side facing down and with the folded end at the bottom. From the top right corner mark 1.5” in from the edge; then mark 1” from the first mark you made.
Step 6: Next we are going to pin the solid material to patterned material. The patterned material should be facing up with the foe already pinned to it.
Take the solid piece from Step 5 ( the one with the 1” mark on it) and place it right side facing down with the folded seam in the center; pin it to the patterned material making sure to not move the foe. Next place the other solid piece with the right side facing down and that folded seam also in the center; and pin that to the patterned material. Put pins the the 1” gap so you have a start and stop point.

Step 7: Sew the mask together with a 1/4” seam allowance making sure to leave the 1” gap open. Back stitch the foe to make sure it stays secure. Be careful to not sew the long straps of foe. Trim the corners of the mask being sure to not trim the seams.

Step 8: Turn the mask right side out, gently push the corners out and press with your iron. Find the 1” gap on the mask; this will be the top of the mask where the pipe cleaner can be removed.

Step 9: Fold your mask in half (length wise) and rub the middle a bit so it gives you a nice crease; pin it on both sides. Then take the bottom of the mask and bring it up to the middle and rub it a bit so you get a crease and pin that. Do the same for the top flap; fold it down to the middle and rub the half way mark and pin that flat to the mask on both sides. You are going to do the same for the middle pleat and the bottom pleat.
Step 10: Now we are going to sew the pleats down and give the mask a finished look. Your sewing start point will be in the bottom right corner. For the sides and the bottom of the mask we are going to sew a 1/4” seam allowance but on the top of the mask where the 1” gap is we are going to sew 1/2” seam allowance for the pipe cleaner pocket. Be sure to back stitched over the foe to make sure they stay secure. Use a seam ripper to help keep the pleats in place.

Step 11: Grab your pipe cleaner and cut it to 8.5” (Child’s Mask 7.5”). Fold each of the edges in about 1/4”; this is so the wire in the pipe cleaner doesn’t poke through the mask. Insert the pipe cleaner in the top pocket and your mask is complete!


Adult & Child size face masks
Thank you for following along and if you have any questions or suggestions please feel free to leave a comment. Please tag me if you make some masks of your own! Sending you all love and please be safe!


