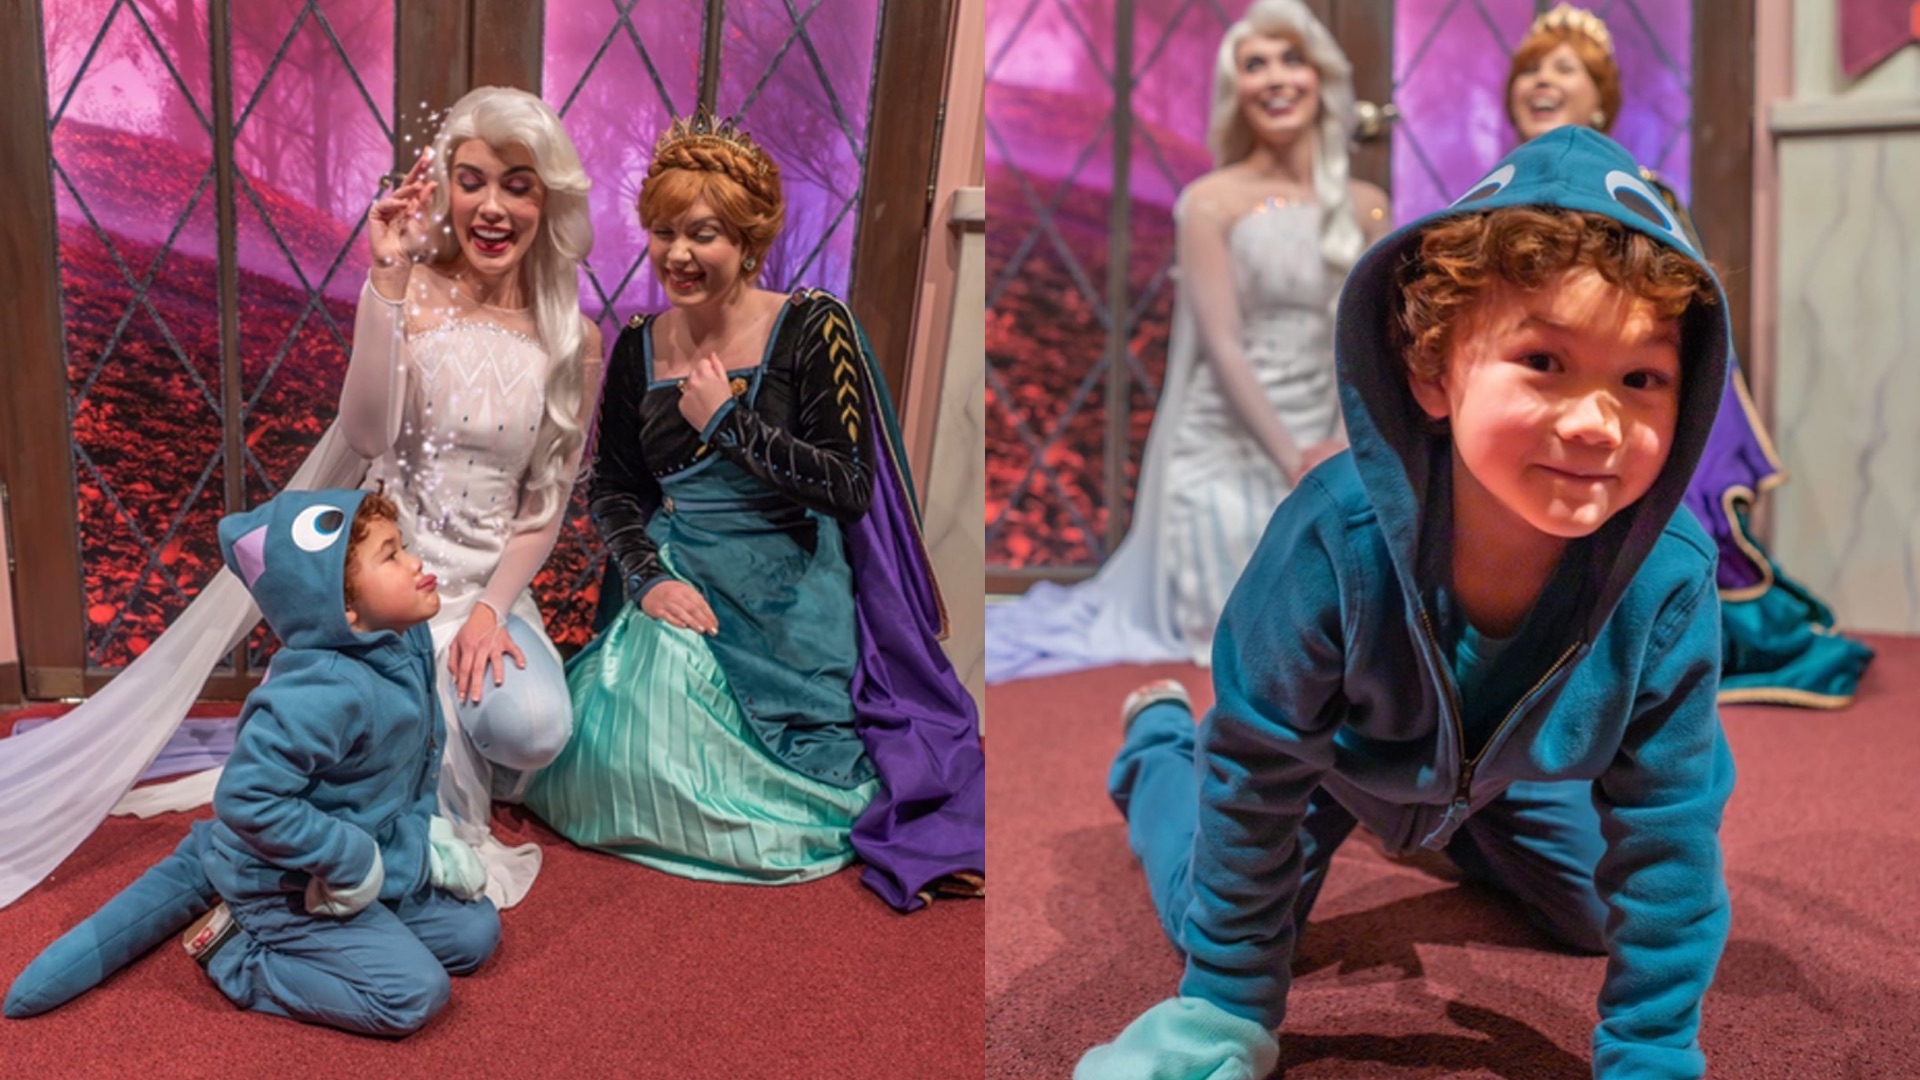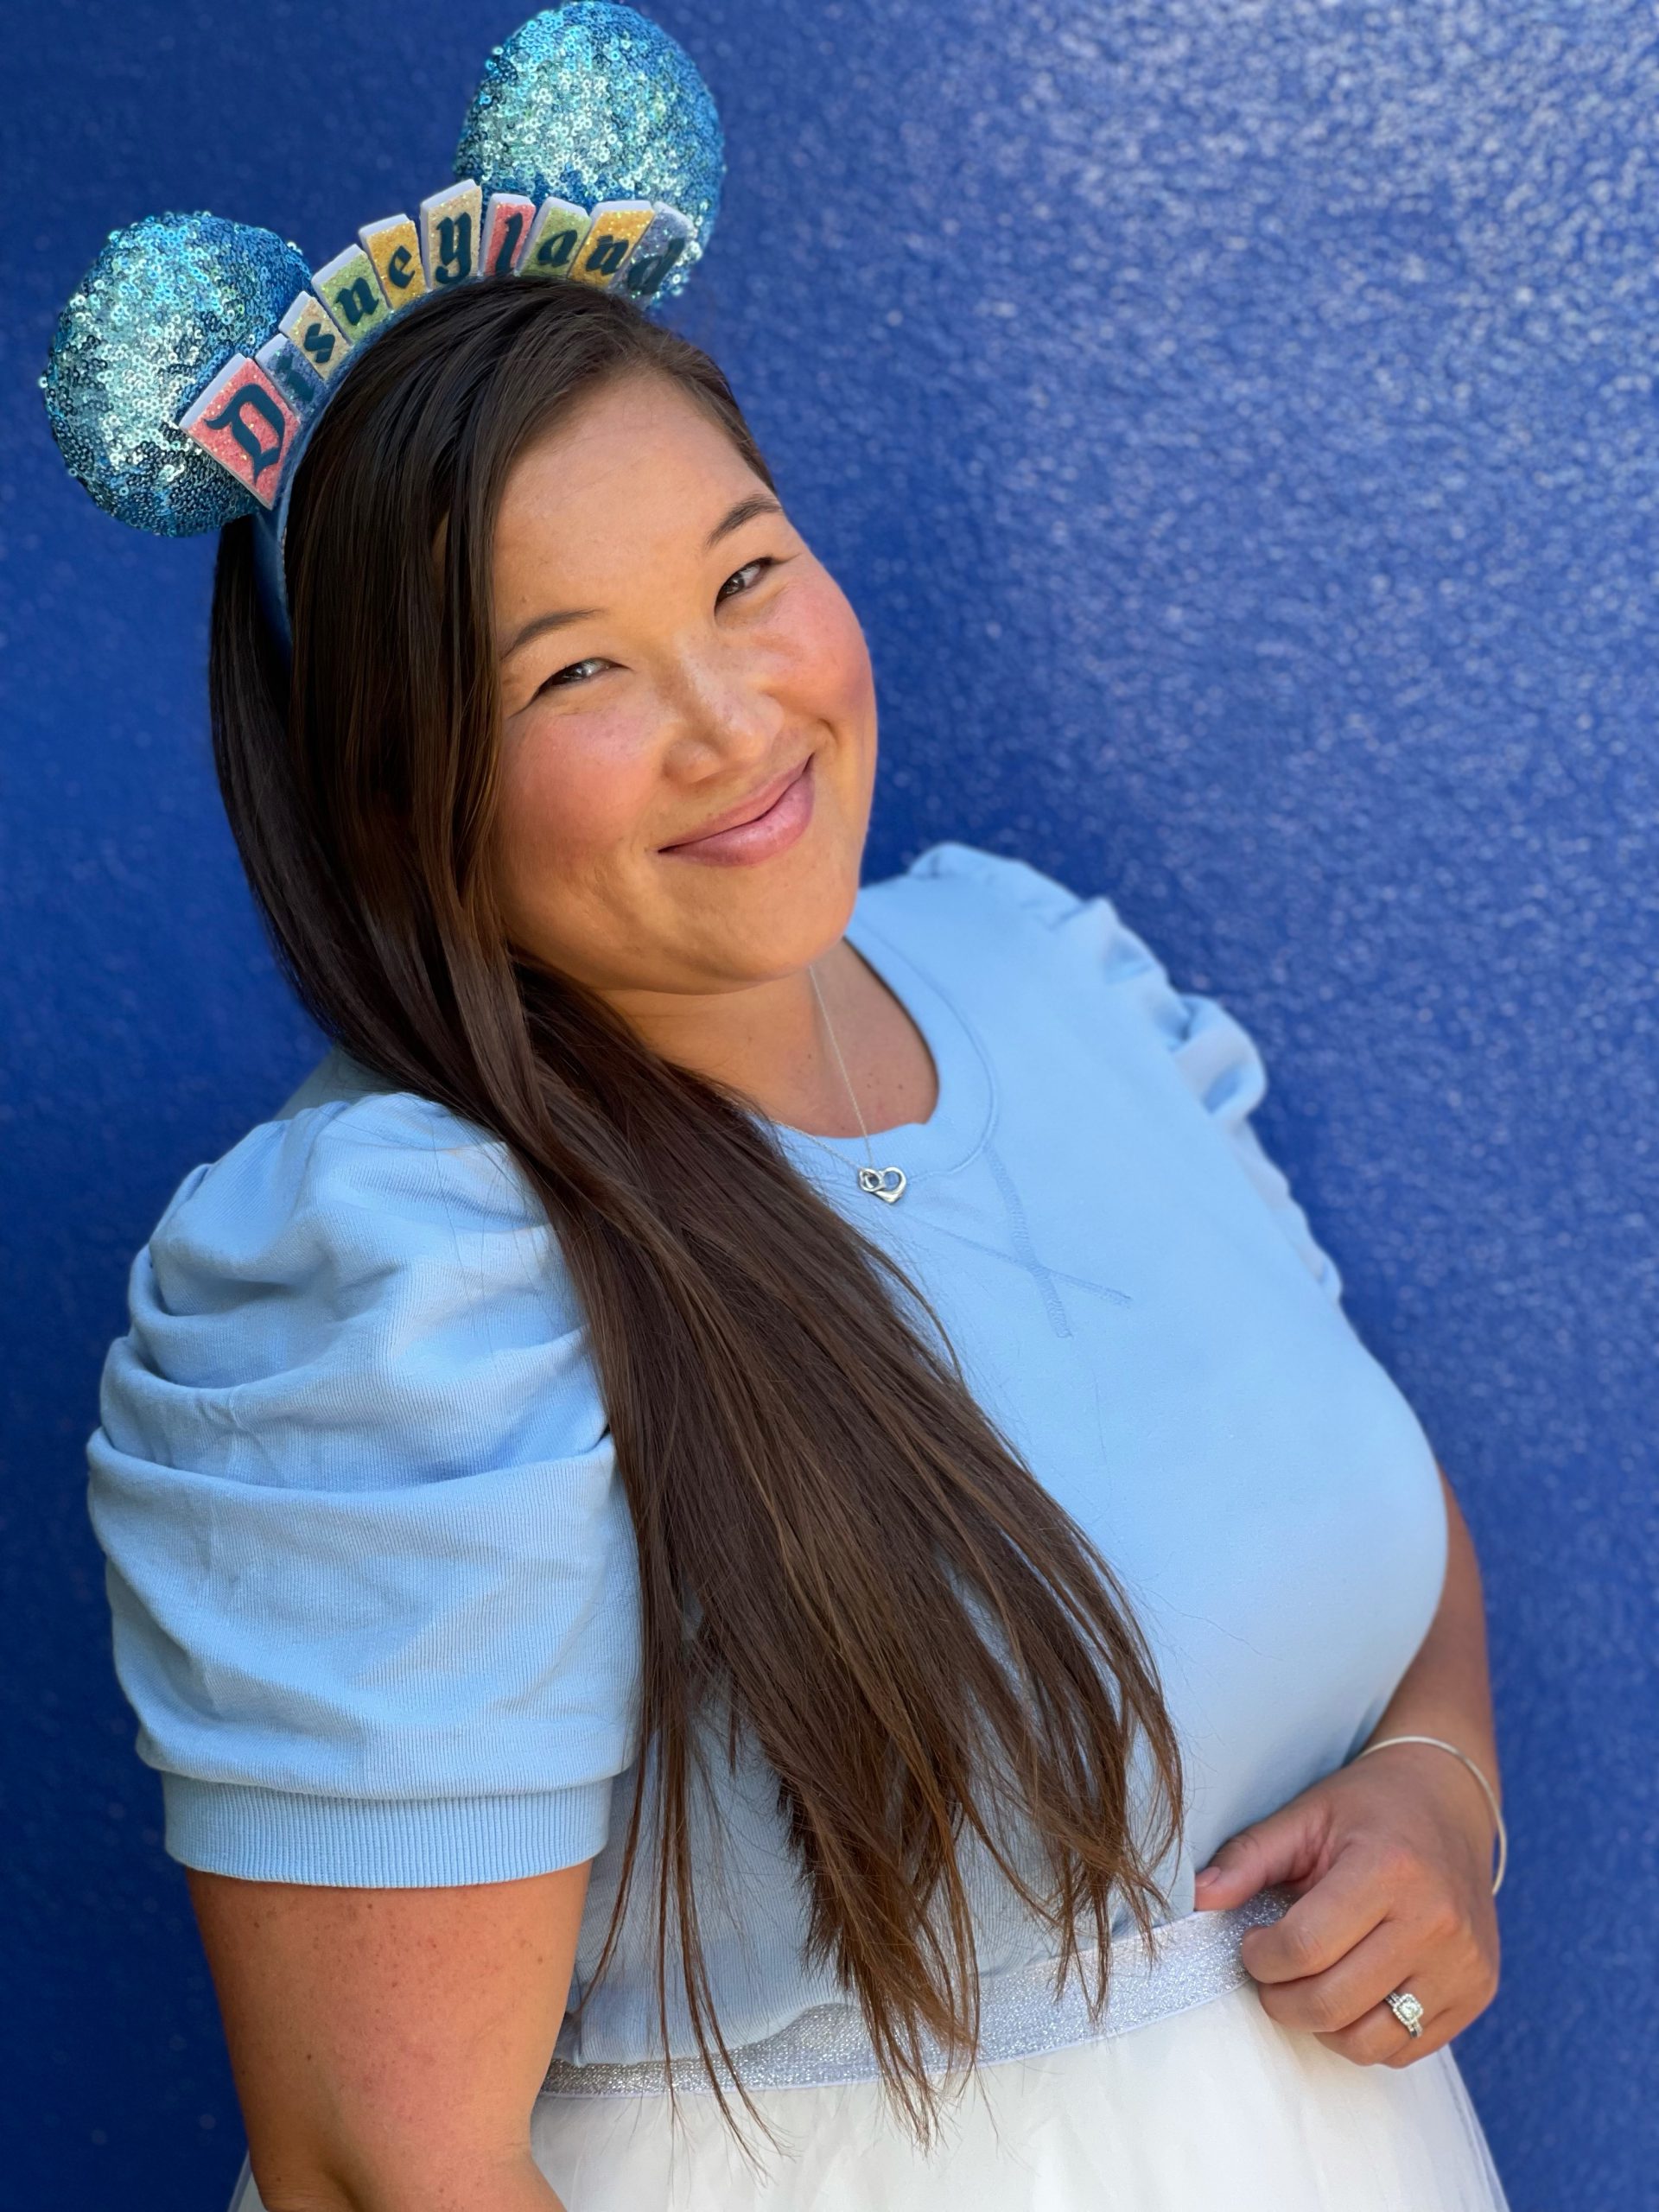
Hi friends and welcome to my first post! If you have been following us on Instagram you know we love all things Disney. We recently went to see Frozen 2 in theaters and my son fell in love with the new character Bruni. Bruni is a cute little salamander that lives in the Enchanted Forest and is the elemental spirit of fire. When he is cool and calm he is blue and when he’s feeling a little fiery he turns purple. With the hope that my son would be cool and calm I chose to make him the blue version of Bruni. We partnered with primary.com to bring Bruni to life in this fun and easy play costume. To get 20% off your order and FREE SHIPPING click here or you can use the promo code PRIMARYAMANDAN61 during check out.
Primary products used:
- the cozy zip hoodie in Slate Blue
- the chino 4 pocket pant in Slate Blue
- the classic tee in Pool
- the cozy mittens in Mint

Additional Materials used:
- Siser Easyweed Heat Transfer Vinyl in Lilac
- Siser Easyweed Heat Transfer Vinyl in White
- Siser Easyweed Heat Transfer Vinyl in Black
- Siser Easyweed Heat Transfer Vinyl in Sky Blue
- Antipill Fleece in color name Larkspur
- Thread by Gutermann Color 635
- Heat Transfer Tape
- Fiber Fill
- Ribbon 7/8” in your choice of color
- Sewing machine, Hot Glue, or Double Sided Fabric Tape
Felt option:
- Lavender felt
- White felt
- Black felt
- Blue felt
Instructions
Your kid will look COOL in this adorable (and easy) Bruni costume inspired by Frozen 2.
There are several variations of this costume.
First variation is the material for the back of Bruni; I chose to use heat transfer vinyl (HTV) since I’m comfortable with the material but if you would rather you can also use felt as another great option. You will instead need to use hot glue or double sided fabric tape to apply the diamonds and eyes for Bruni. Just keep in mind you will have to hand wash it in cold water if you are using hot glue.
Second variation is the tail; I chose to include a tail because my son requested it, but if you would rather skip the tail just make sure to add the two extra diamonds to the back of the jacket that would normally be on the tail.
Third and last variation is for the tail; I chose to sew the tail but you can also use hot glue. I consider myself a beginner at sewing so if you are also new to sewing this project is definitely doable for you!
Let’s get started!
Bruni’s Main Body
You will need the cozy zip up hoodie from primary.com
Step 1: Measure the back of the sweatshirt to determine how big you will want the diamond shape on the back of Bruni. My son wears a size 6 in the cozy zip up hoodie and I wanted the diamond on the back to be 12” long and about 5.75” wide. I created the shape in Silhouette Studio since that is the program I use to cut my HTV but you can easily draw directly on the felt if you go that route. Don’t forget to cut out an inner diamond inside the bigger diamond! If you are not making a tail then be sure to include the two smaller diamonds for the end of Bruni’s tail to the back of the hoodie.
Step 2: Next measure the hood, where the diamonds on top of Bruni’s head are; there are two small diamonds and a medium diamond below those. I had my son try on the hoodie so I could measure and determine where I wanted the diamonds to go and how big I would want them. I ended up having the two small diamonds each be 2.5” wide and about 3.75” tall and the medium diamond was 3.75” wide and 7.5” tall.
Step 3: Next you are going to create Bruni’s adorable eyes. I made two circles for the white part of his eyes they ended up being 2.5” wide and 2.5” tall. For the blue parts of Bruni’s eyes they ended up being 1.4” wide and 1.4” tall. Lastly, the black part of his eyes ended up being 1.2” wide and 1.2” tall.
Step 4: Cut and collect all your pieces. You should have one big diamond with an inner diamond cut out in the center, a medium diamond, two small diamonds, two white circles, two blue circles, and two black circles. If you are not going to make a tail you will also have two additional diamonds for Bruni’s tail.
Step 5: Now it’s time to apply the diamonds and eyes! If you are ironing or using a heat press to apply the HTV, be sure to prep the hoodie by heat pressing it to get all the moisture out. Now on to applying the diamonds and eyes. You are going to fold the arms of the hoodie together so you can find the center of the back; find the biggest diamond with the smaller diamond cut out and heat press/hot glue the diamond to the hoodie. If you are using HTV use the heat transfer tape; this is one area you don’t want to cut corners!! If you are not including a tail you will also apply the diamonds that would normally be on Bruni’s tail to the back of the hoodie at this time. Follow the same steps for the big diamond on top of Bruni’s head; this should be easier since you have the seam of the hoodie to give you a center point. For the two small diamonds and eyes I had my son try on the hoodie so I could see the placement of where I wanted them to go. For the eyes you will be layering them; white first, then blue, and lastly black.
Step 6: Pair your adorable Bruni hoodie with the the chino 4 pocket pants, the classic tee, and the cozy mittens and your little Bruni is ready to go on some magical adventures.
Bruni’s Tail
For Bruni’s tail you will need fleece or felt.
Step 1: Fold the fabric right side in and on the fold.

Step 1 
Step 3
Step 2: Draw the outline of the tail on the fabric; you want the end of the tail to be round. I measured from the top of the tail to the end of the tail to be about 27.5” long and about 6” tall. Again my son is 5 years old so these measurements will vary for the age of your child.
Step 3: Cut out the tail.
Step 4: Keeping the tail with the right side facing in; you will sew or hot glue the two sides of the tail together keeping the right opening (top of the tail) of the tail open so you can stuff it with fiber fill. If you are sewing I used a 5/8” seam allowance and don’t forget to tie your threads.
Step 5: Turn the tail inside out. If you are using my measurements the tail from top to bottom should be about 27” long.
Step 6: Lay the tail flat with the seam facing up. Fold the top of the tail about 1” towards the seam twice and pin it in place. Now turn the tail over so the seam is facing down and measure 5.5” and mark it with a piece of heat transfer tape.

Step 6 
Step 7
Step 7: I again used Silhouette Studio to create the diamond shapes for Bruni’s tail but you can easily draw it on the material you are using. Bruni has two different sized diamonds on his tail; the first one came out to 3.25” wide and 6.5” tall and the second diamond came out to 2.5” wide and 4.75” tall. Cut the diamonds using your preferred method and apply it to the tail under the piece of heat transfer tape.
Step 8: Unpin the tail and fill it with Poly-fil up to the tape line. You are only filling the tail with the Poly-fil part way because you will want the tail to sit flat against your child’s back; it’s more comfy that way.
Step 9: With the seam facing up fold the opening of the tail 1” towards the seam. Sew or hot glue the fold closed.

Step 9 
Step 10 
Step 11
Step 9: With the ribbon measure your child’s waist; I added a couple of extra inches so my son could wear his tail as he grows. It came out to 65”. Cut your desired amount of ribbon and with a lighter heat seal the ends of the ribbon so they do no fray (watch out for those finger tips!)
Step 10: Find the center of the ribbon and line it up with the seam of the tail; pin it in place. You will either sew or hot glue the ribbon to the tail. If you are sewing you might need to pull/guide the fabric; it gets a little bulky at this point (I actually had to have my son help me with the reverse button on my sewing machine because I needed both hands to guide the fabric.)
Step 11: With the seam facing up fold the top of the tail (where the ribbon is) down one more time and either sew or hot glue this piece in place. That’s it; now you have a super cute tail to complete your Bruni costume!

I hope you had fun making this Bruni play costume. Thank you for following along and be sure to subscribe to our page to get notifications on all our new DIY projects. Be sure to tag us on Instagram of your own Bruni costume, we love seeing your creations!
I also wanted to say thank you to primary.com for partnering with me on my first blog post. We have been using their brand to make our play costumes for awhile now and we love how comfortable and cozy all their clothes are. Lastly I also wanted to say thank you to Edwin for the pictures with Elsa and Anna; be sure to follow him on Instagram at @magic.through.a.lens .


