Hi Friends. WOW, what a week it has been. We went from school will be on the minimum day schedule to school being canceled for at least two weeks in less than 24 hours. So now we are homeschooling with the help of our amazing teachers. I figured since we are home any ways this is a great time to get some DIY projects done.
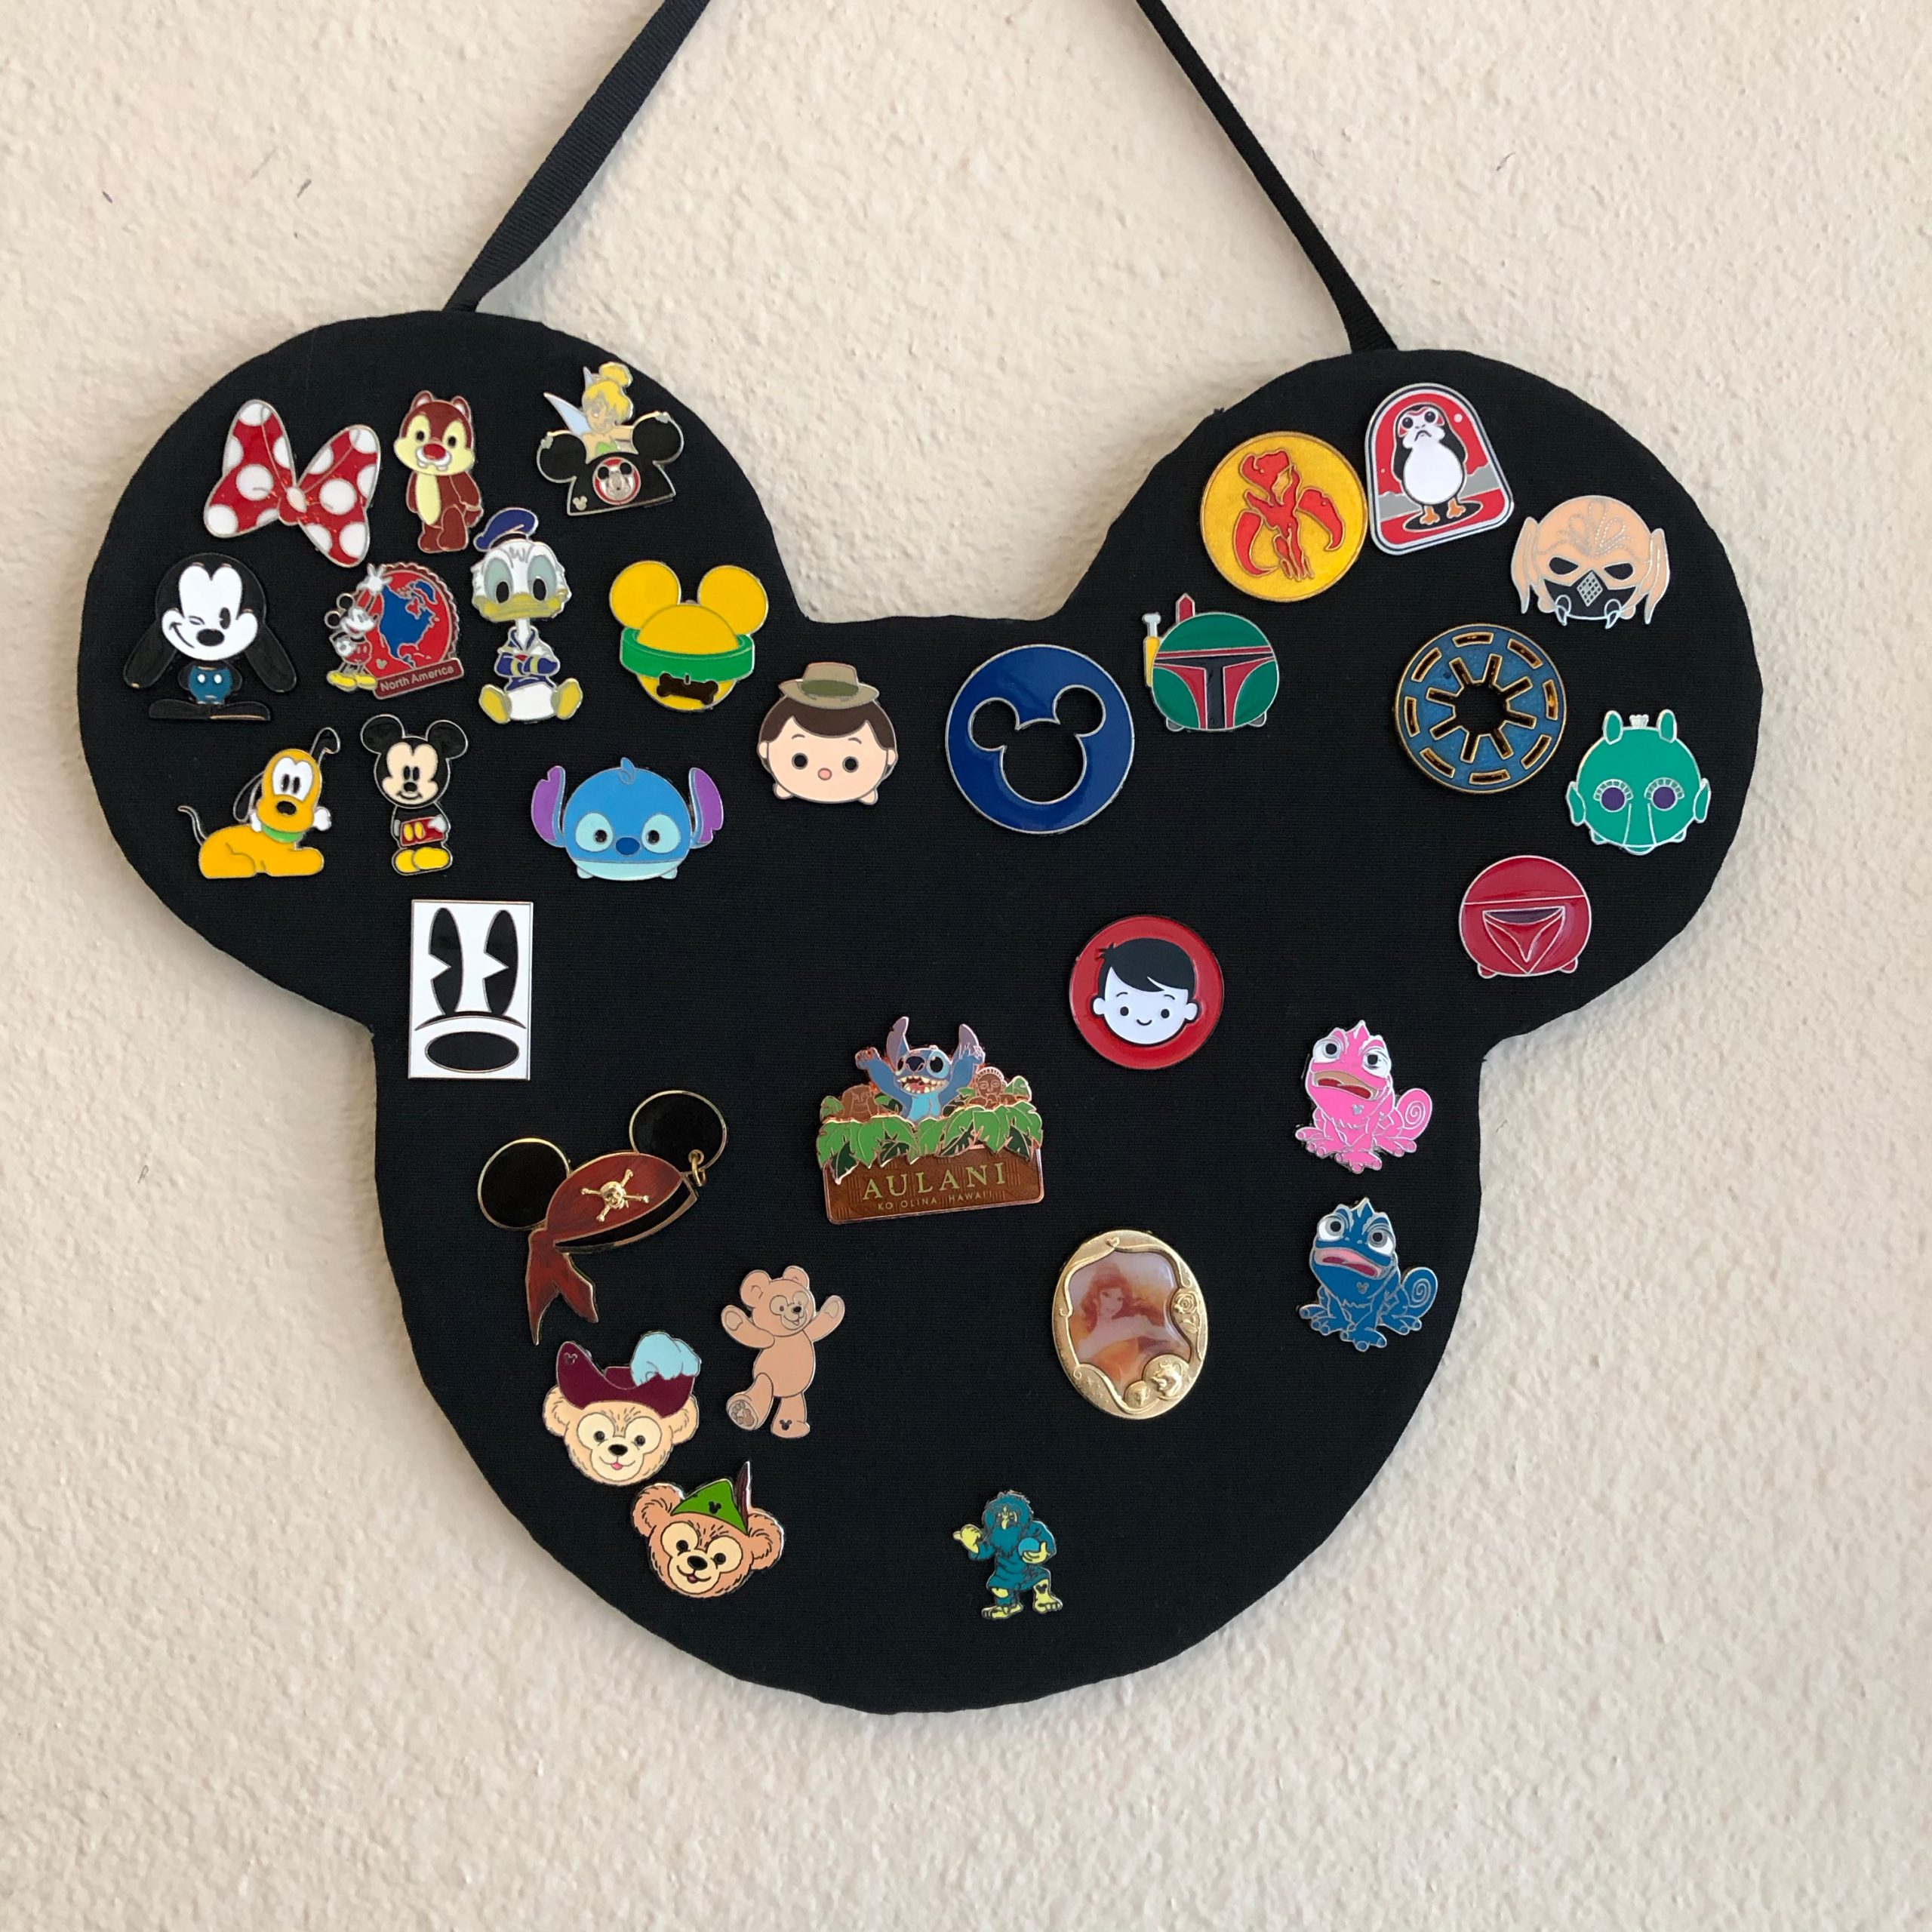
We recently started collecting Disney Pins; we had a couple that were gifted over the years from friends that had extras but I always said that we would never get into pin trading because it’s just like Alice falling down the rabbit hole. Well here we are, a couple of years later and we are pin traders now. I decided to go on eBay and buy a big bag of pins (make sure they are authentic Disney pins or else you won’t be able to trade them). I found a great deal 100 pins for $25; you can’t beat that! I let the kids look through the bag and keep the ones they wanted and we divided up the rest so they could trade them in the parks. I knew I wanted to display the ones they wanted to keep so I decided to make a pin board. It was actually a lot easier than I thought it would be and only took me a couple of hours to make; and I’m really happy with the way it turned out and now both kids are asking for a pin board for their rooms.
Below you will find a list of all the items I used and I even linked some of the items to make it easier for you to find. I did get the Foam Grid Board and Cork Roll from Joann, since everyone is advised to stay home try to use things you have at home. Instead of the foam board and cork board you can use multiple layers of cardboard. I hope you have with this project and don’t forget to wash your hands! lol
Products used:
- Foam Grid Board
- Fine Grain Cork Roll
- Large Bowl
- Small Bowl
- Fabric (color of your choice, I chose black)
- Felt to match fabric color you chose
- Hot Glue Gun (black glue if you will be using black material)
- X-Acto Knife
- Cut Mat
- Ribbon 3/8” thick (your choice of color)
- Pencil/Pen
- Thin marker/Sharpie
Let’s get started!
Step 1: Lay the roll of cork on top of the foam board (grid side up), line them up and draw a line using the top of the cork. This is just to give you a guide how much space you have to draw your Mouse Silhouette.

Step 2: Grab your large bowl and trace it on the foam board. Remember to leave some room for the ears.

Step 3: Now trace the small bowl for the ears; do this for each ear. Use the grid lines to help make sure the ears are even.

Step 4: With the X-Acto Knife you are going to cut out the outside lines you made of the Mouse Silhouette. *Helpful Tip: when cutting the foam board with the X-Acto Knife be sure to cut it straight up and down and not at an angle.

Step 5: Grab the roll of cork and lay it on top of the cut mat, place the foam board on top of the cork and trace it (I used a thin Sharpie). Using the X-Acto Knife very carefully cut out the Mouse head. I found it helpful to slightly lift the X-Acto Knife just a little instead of dragging it when cutting.
While you are doing this plug in your glue gun so it will be ready in step 6.

Trace 
Cut it out
Step 6: Now lay the foam board on the mat with the grid line facing you and the lay the cork on top of the foam board. Very carefully hot glue the foam board to the cork; the cork is very thin so be gentle. I first hot glued the foam board from one ear corner to the other; then glued half of the head shape gently pushing the cork to make sure the foam board and cork were adhering to each other. Then glue the rest of the Mouse head.
Step 7: Lay the Mouse Head Silhouette with the cork side facing down and trim any excess cork you may have.

Step 8: With the Mouse Head Silhouette on the cut mat (cork side facing you) grab your fabric and lay it right side facing up onto of the Mouse Head Silhouette. Hot glue the fabric to the Mouse Head Silhouette making sure to leave extra fabric on all sides of the Mouse Head Silhouette.

Fabric is on top of the board
Step 9: Trim the excess fabric leaving at least a 1” of extra fabric around the Mouse Head Silhouette.

Step 10: Cut several small slits around the Mouse Head Silhouette about every 3″. Then hot glue the fabric to the board lifting up slightly so there is no extra fabric on the side facing down. You will be over lapping the material occasionally giving them little pleats.
Step 11: Grab your ribbon and felt. Cut your ribbon to your desired length and hot glue it to the back of you board. Next you are going to trace the felt in the shape of your board. Then you are going to cut it out this time you are going to trim it smaller than your board since you don’t want any of the felt to be showing. Trim any excess felt you may have.

Ribbon is hot glued to the back of the board; trace the board to your piece of felt. 
All done! This is what the front of your board will look like. 
This is what the back will look like!

Hang it on your wall or… 
add it to your other collections.
That’s it! You have now made your own pin board; hang it up and display all your favorite pins.Thank you for following along and be sure to subscribe to our page to get notifications on all our new DIY projects. Be sure to tag us on Instagram of your own Pin Board, I love seeing your creations!


